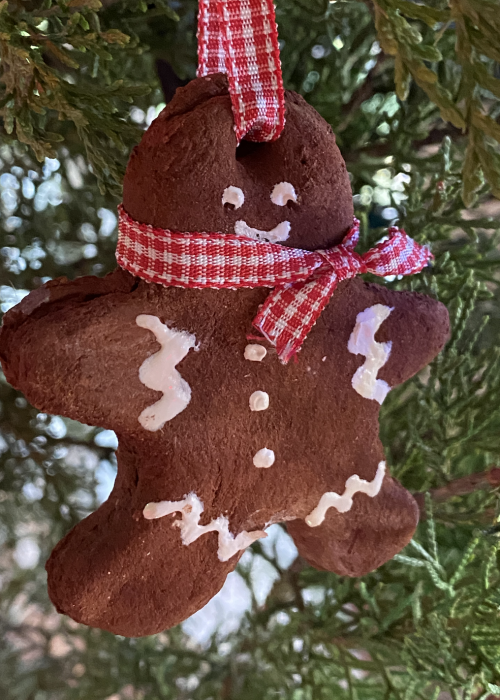
I can’t tell you what gifts I received for Christmas growing up. I can tell you the memories I made with my family. The traditions we shared. The homemade ornaments we made and hung each year. The trip to pick out the perfect Christmas tree. The caroling. The excitement of celebrating Christmas Eve with family and waking up to find Santa’s surprises. The taste of Mama’s Christmas Breakfast Casserole & Daddy’s fresh oranges.
Traditions provide a sense of belonging & meaning to our lives. They nurture connections with those we love and give us comfort. The provide certainty & reliability in an ever changing world. Traditions bring meaning to our celebrations. Just like family recipes passed down, traditions honor and connect us to generations before us.
Traditions are where memories are made. The time spent with family carrying out these traditions are significant moments in time that will live in your mind.
Traditions are so important for children. They help children to feel a part of something special and unique. They are grounding and help us to focus on what’s really important in life.
TY Ranch Traditions & a Genuine Texas Christmas Tree
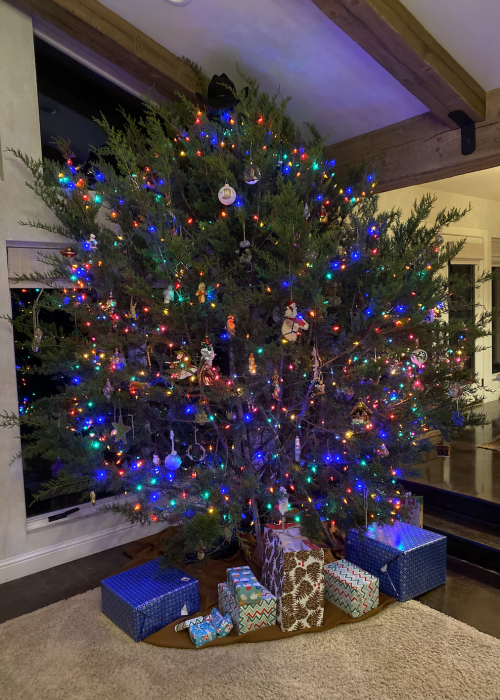
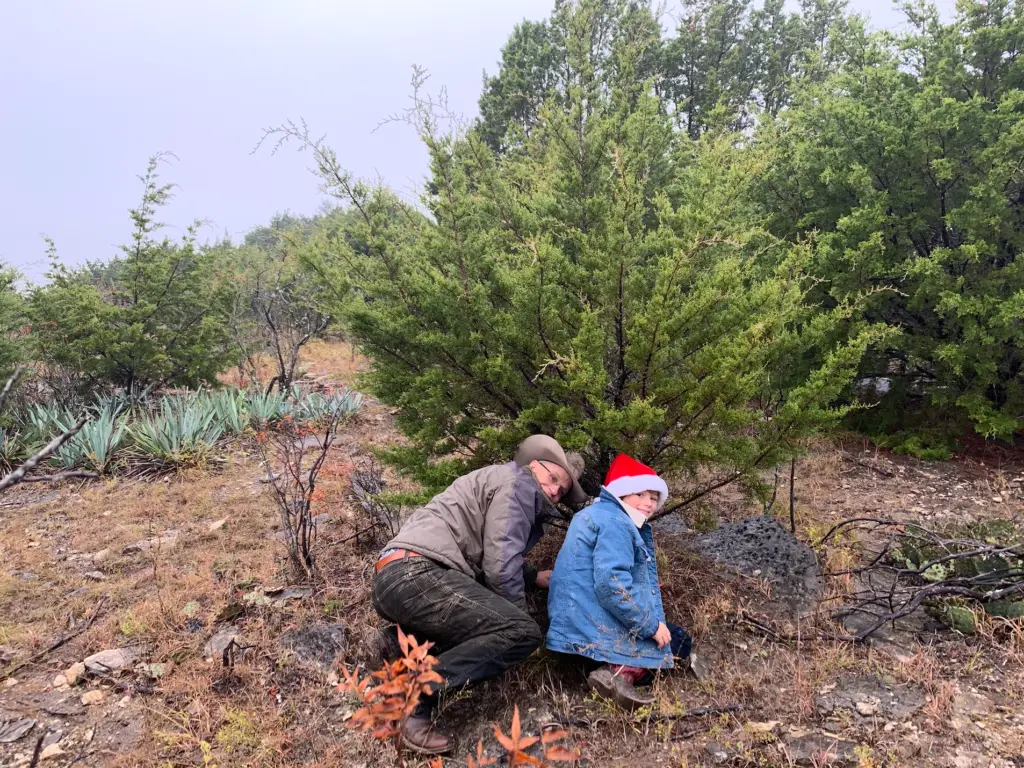
The day after Thanksgiving Ty, Kase, Oakley and I hook up a trailer to the 4-wheeler and go search for the perfect Cedar Tree on the Ranch. When the kids are old enough to ride horses on their own we will take our two Clydesdales out to pull the tree back for us. But for now, the 4-wheeler it is and we bundle up only to find out it’s usually not very cold in Texas this time of year. We hike amongst the yuccas and prickly pears, careful to watch out step, into the thick of the cedar trees. When we find the one, Ty cuts it down and we load it up to bring home. The trees are far from perfect, but they are perfect to us. They aren’t balanced and we have had two fall over, fully decorated, to be stood back up and tied to the wall and braced with a tripod.
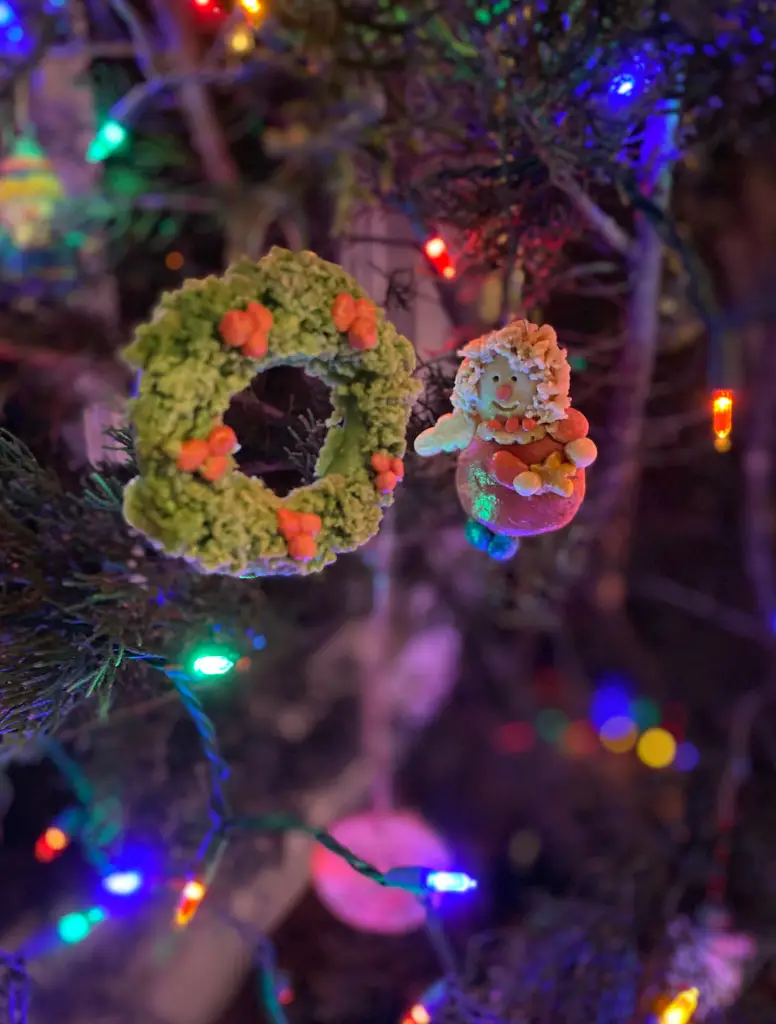
We love to decorate the tree with an array of mismatched ornaments. All special. The past 5 years, Kase and I have made handmade ornaments for our tree and wrap as Christmas gifts for those we love. We have collected nature’s bountiful adornments to make beautifully, rustic ornaments.
An old beater cowboy hat of Ty’s sits on top of the tree. This wasn’t on purpose. When Ty and I celebrated our first Christmas together in 2015, I didn’t have a tree topper of any sort. So, the hat it was. It’s now a tradition and I don’t think it could be any more perfect.
I hope you enjoy making these ornaments and hanging them every year as much as we do!

*Salt Dough Ornaments*
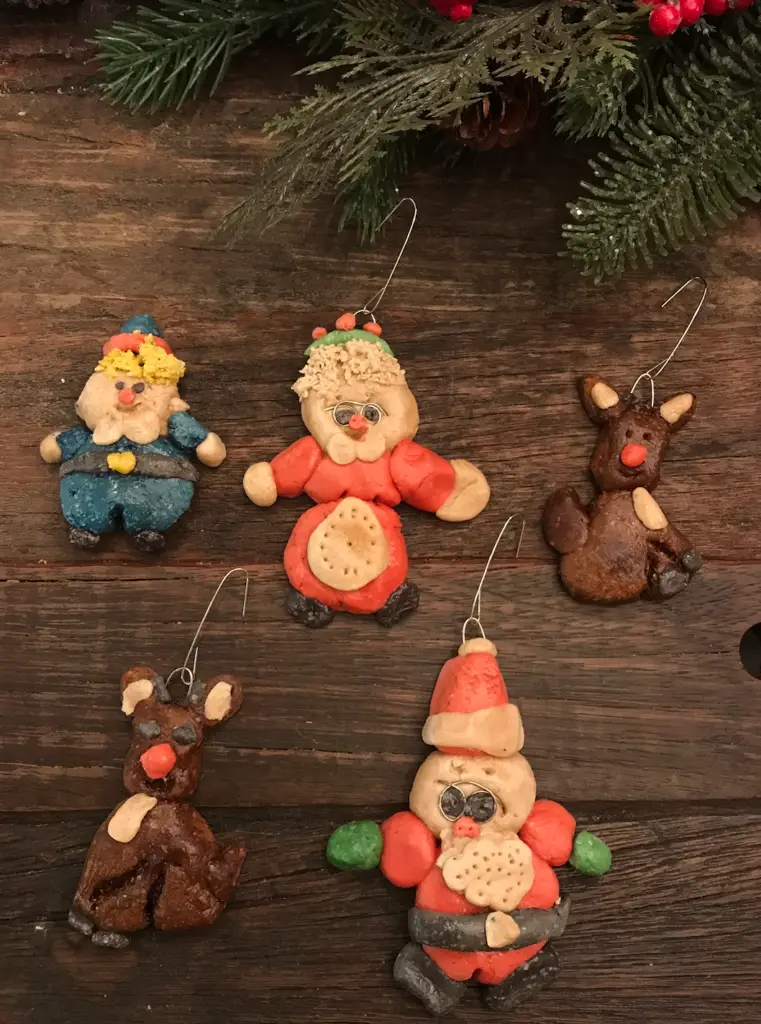
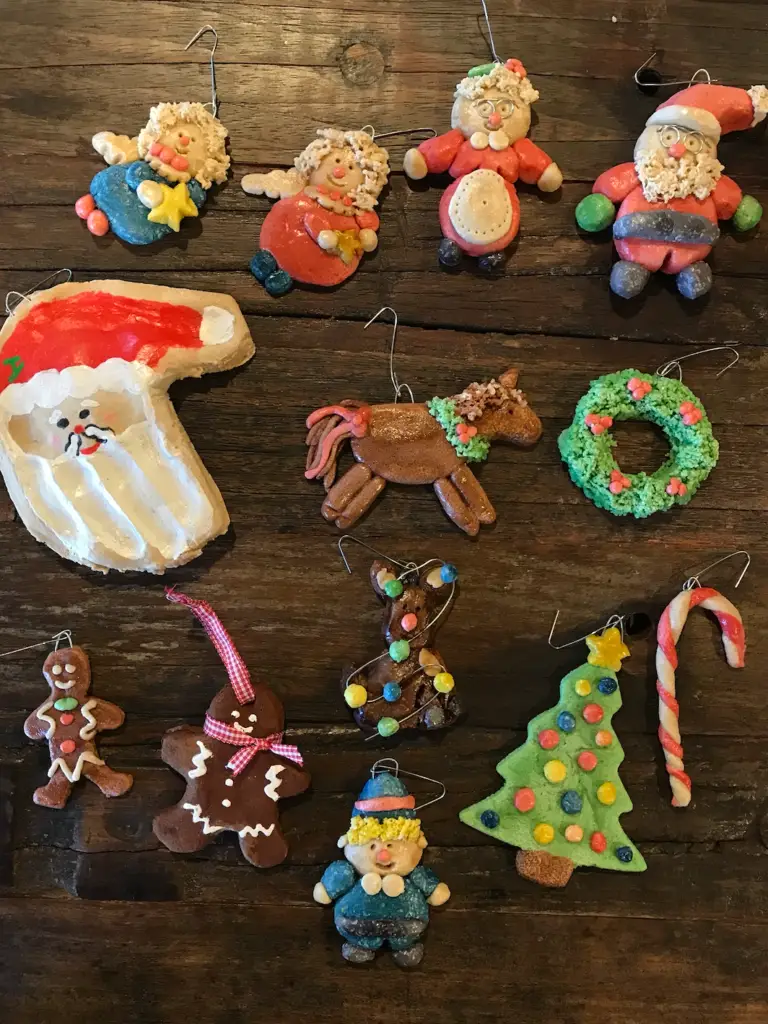
These were some of my favorite ornaments to make with my Mama and sisters. Thank you Mama for always taking the time to craft things with us. I have such fond memories of not only making these, but hanging them on the tree every year. You can be creative and come up with any design you can think of!
Salt Dough Recipe
You can make ornaments or sculptures with this salt dough recipe! It can go into the oven to dry.
Here are a few options to color your salt dough.
- After drying and cooling, you can paint it with acrylic paint and seal with polyurethane spray (this is what we did with the Santa hand).
- Add food coloring to your water before you mix it with the salt & flour.
- Add natural food coloring like coffee, beet juice, curry powder, cocoa, etc. to the water before mixing it with the salt & flour.
I like to use food coloring in my water to color the dough instead of painting it. It’s a lot less messy especially for the kids. I try to decide how much of each color I will need and I will half or fourth this recipe if I don’t need as much of a certain color (like blue for example).
Ingredients:
- 1 cup of salt
- 2 cups of all purpose flour
- 1 cup of lukewarm water
- Food coloring*
Directions:
- In a large bowl mix flour and salt.
- Mix food coloring into your water if you are using.
- Gradually stir in the water. Mix well until it forms a doughy consistency.
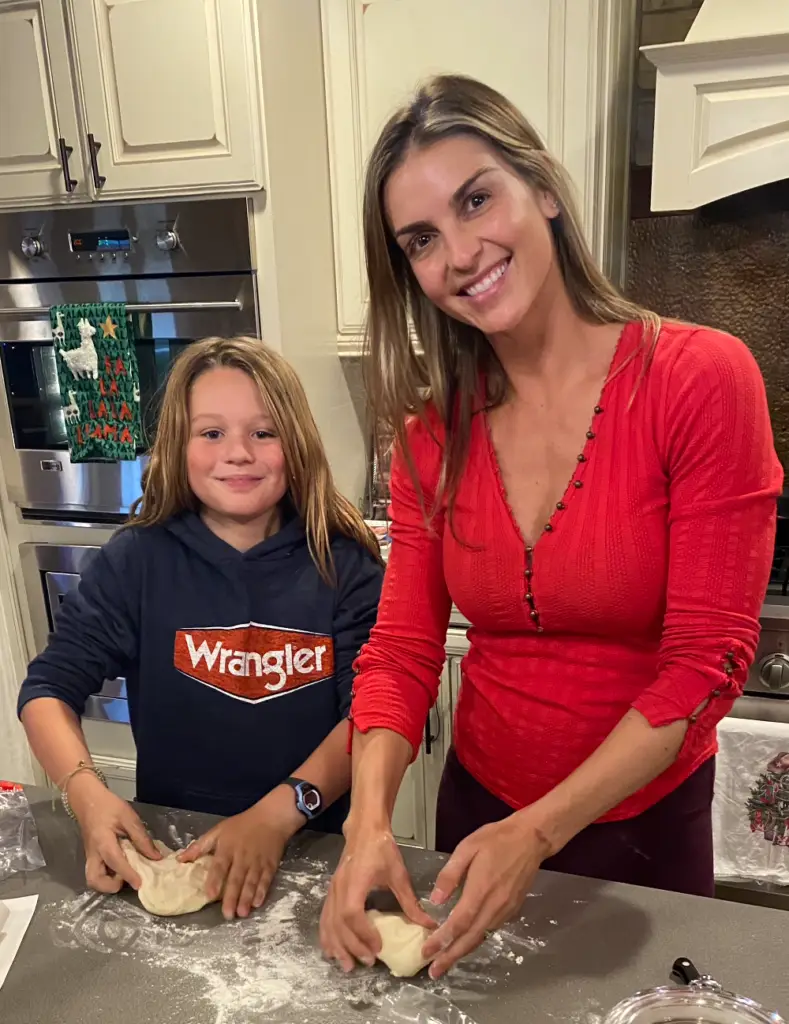
- Form a ball with the dough with your hands and kneed it for around 5 minutes. The longer you kneed it the smoother it will be.
- Store your dough in an airtight container and you can use it for days.
- Make your ornaments.
- You can let the salt dough air dry or you can bake at 200F until the creation is dry. The amount of time needed depends upon the thickness and size of your dough. Thin, flat ornaments may only need an hour. Thicker ornaments may need 2-3 hours of more. (Mine took 2 hours). If you are painting your ornaments you can turn your oven up to 350F for quicker drying time but the dough will brown. This won’t matter if you are painting them.
To Make the Ornaments
- Form your pieces with your salt dough. To attach them to other pieces, wet both pieces where you want to attach them and push them together making sure they stick.
- To make hair, wreath leaves, etc. use a garlic press to push the dough through.
- Make glasses with some wire by wrapping it around a pencil or pen.
- Make the eyes & mouth with a toothpick. Just push it into the dough.
- To add the hook, cut your wire about an inch long, make a u shape, and push the two cut ends into the top of the dough before baking.
To Make the Cookie Shaped Ornaments
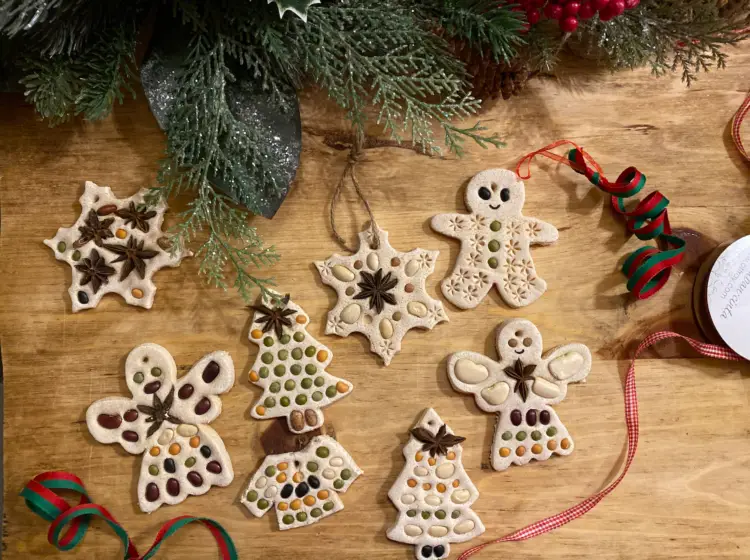
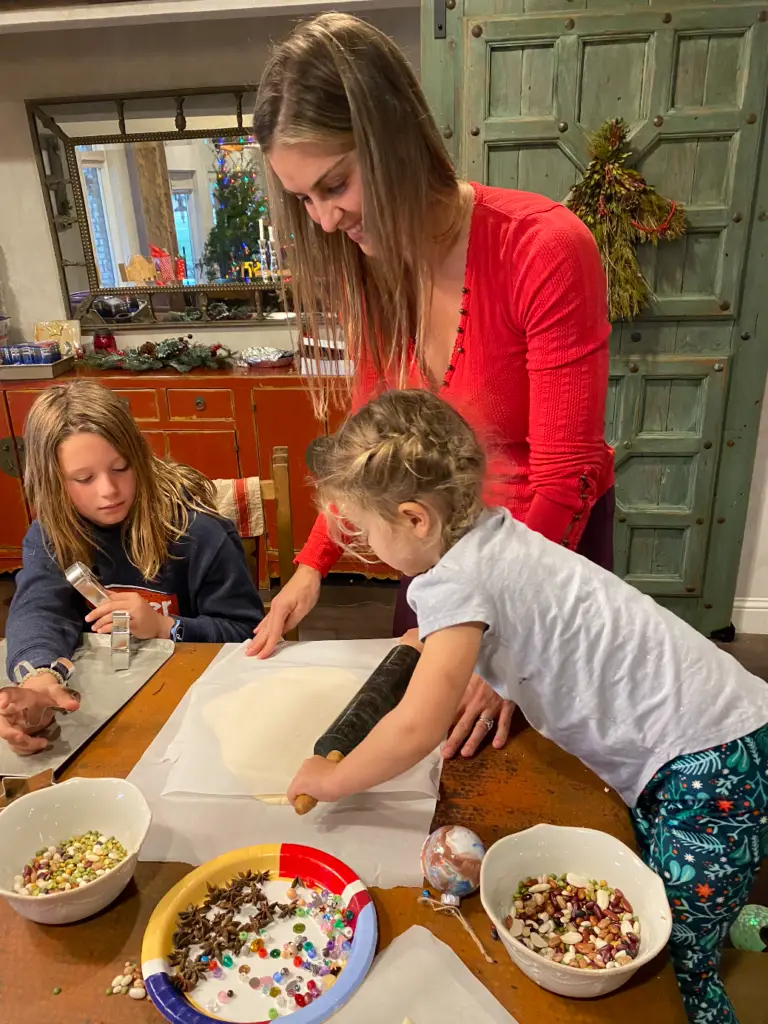
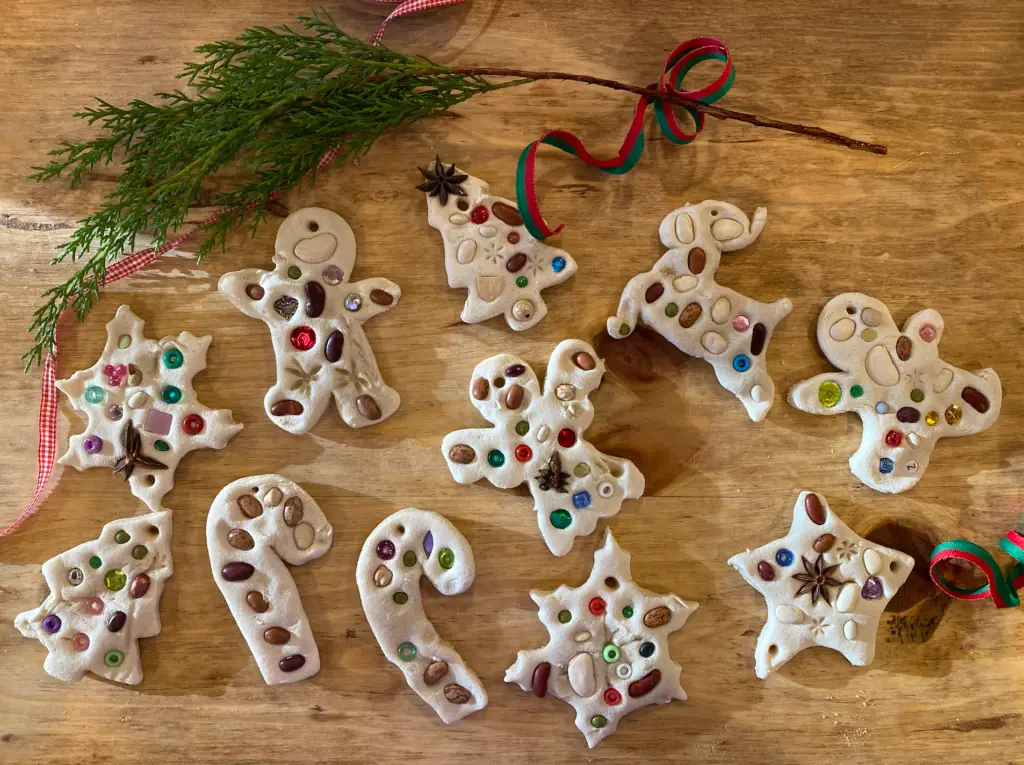
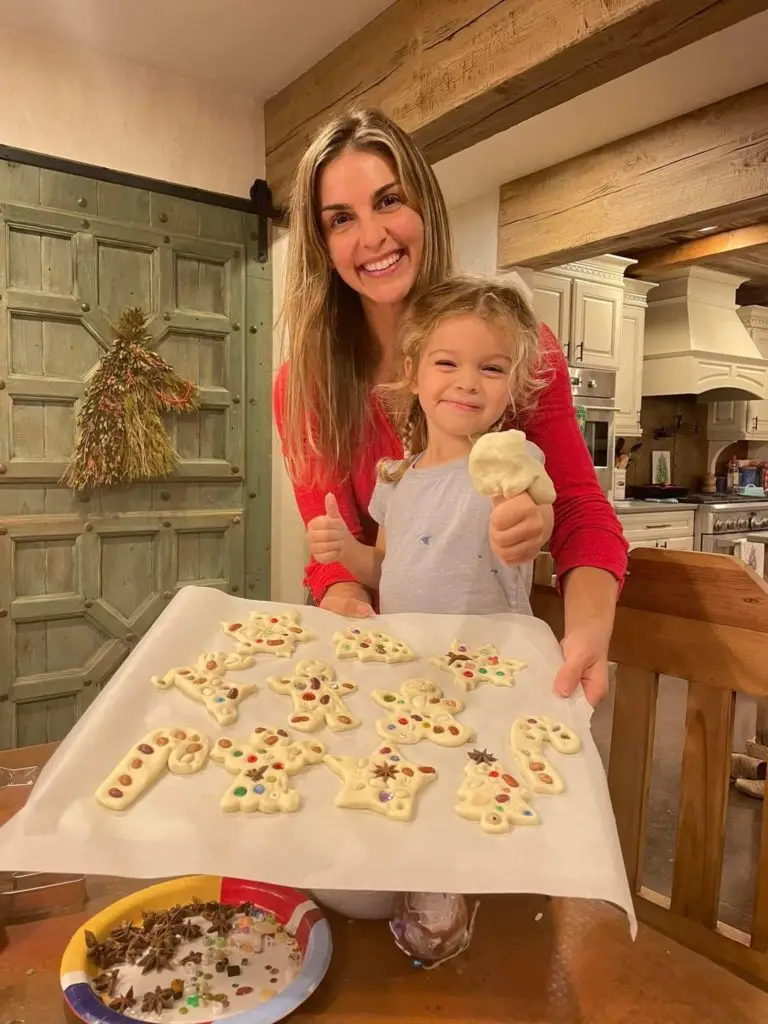
- Roll your dough and cut your shapes out with a cookie cutter.
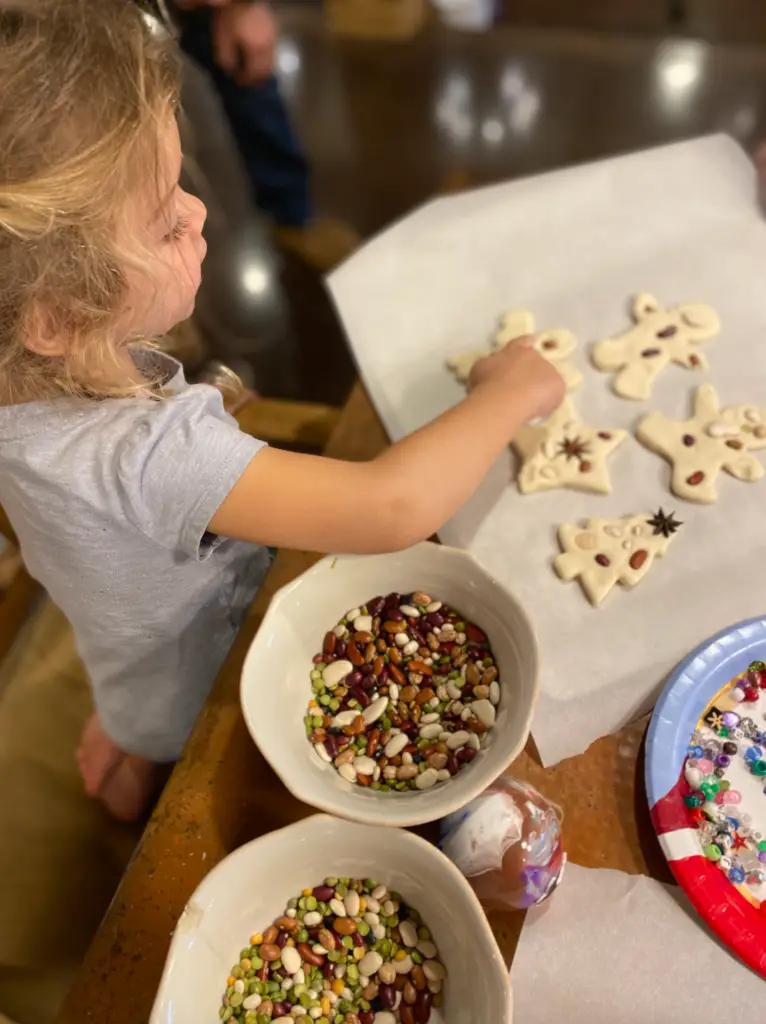
- Place ornaments on a baking sheet lined with parchment paper.
- Poke a hole in the top of the ornament to thread your ribbon through.
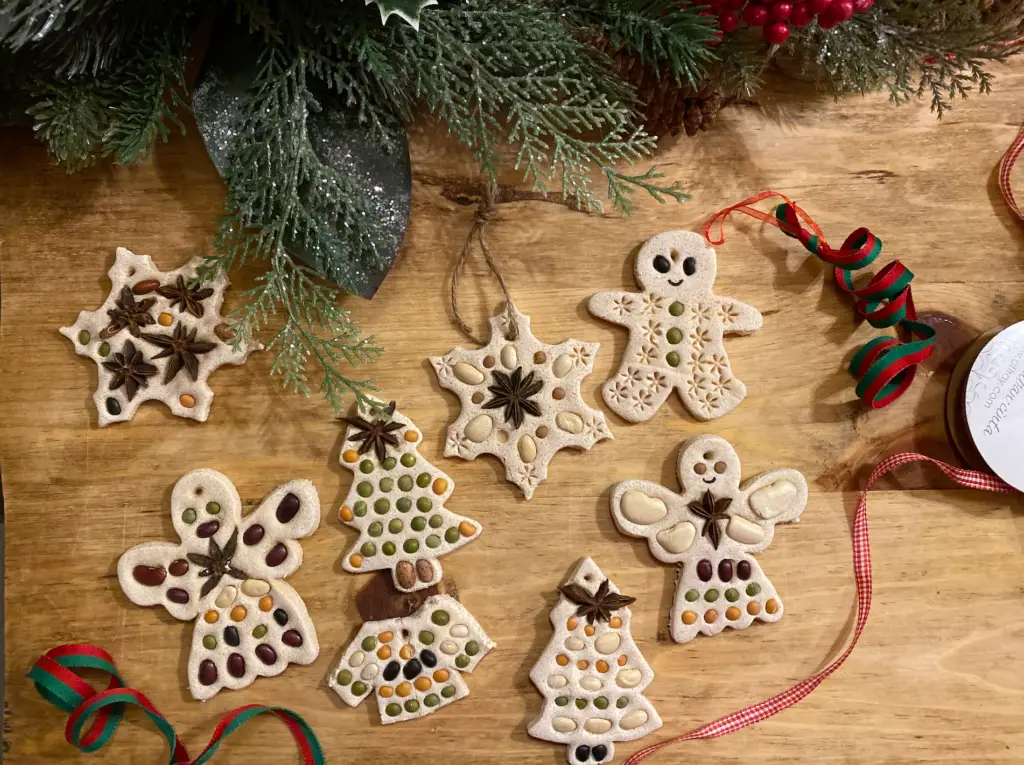
- Firmly press decorations such as lentils, dry beans, star anise, cloves, sequins and beads into the dough.
- Let these air dry or bake at 200 until hard and dry.
- Spray with polyurethane spray when cool!

Cookie Shaped Ornaments



![]()
*Ornaments from Nature*
I hope you find some inspiration in these ornaments using items we find in nature. Start seeing things around your yard, or at park, or on trips you take in a different way. These are so fun for children to make. Find something in nature and ask them what creative ornaments can you think of to make from this?
The great thing about these is that they are very inexpensive and so special! I hope you can find your own items in nature but if you can’t I’ve linked some items in blue from my Amazon Affiliate page.
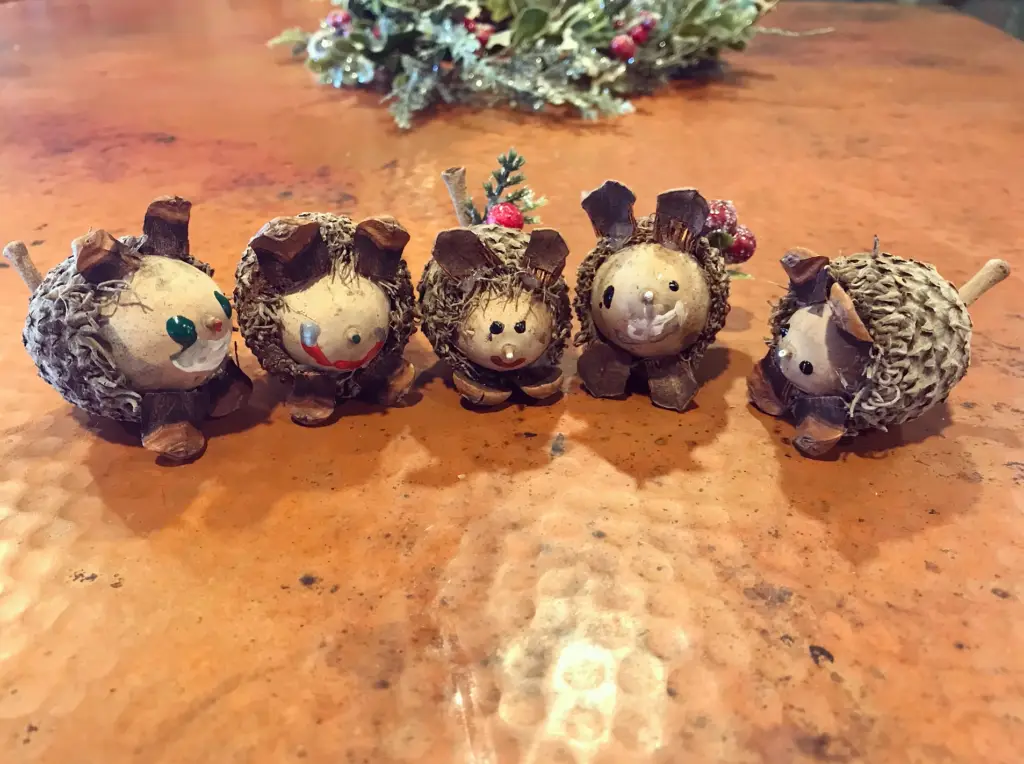
Burr Oak Acorn Christmas Mice
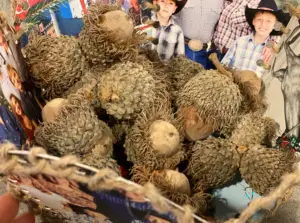
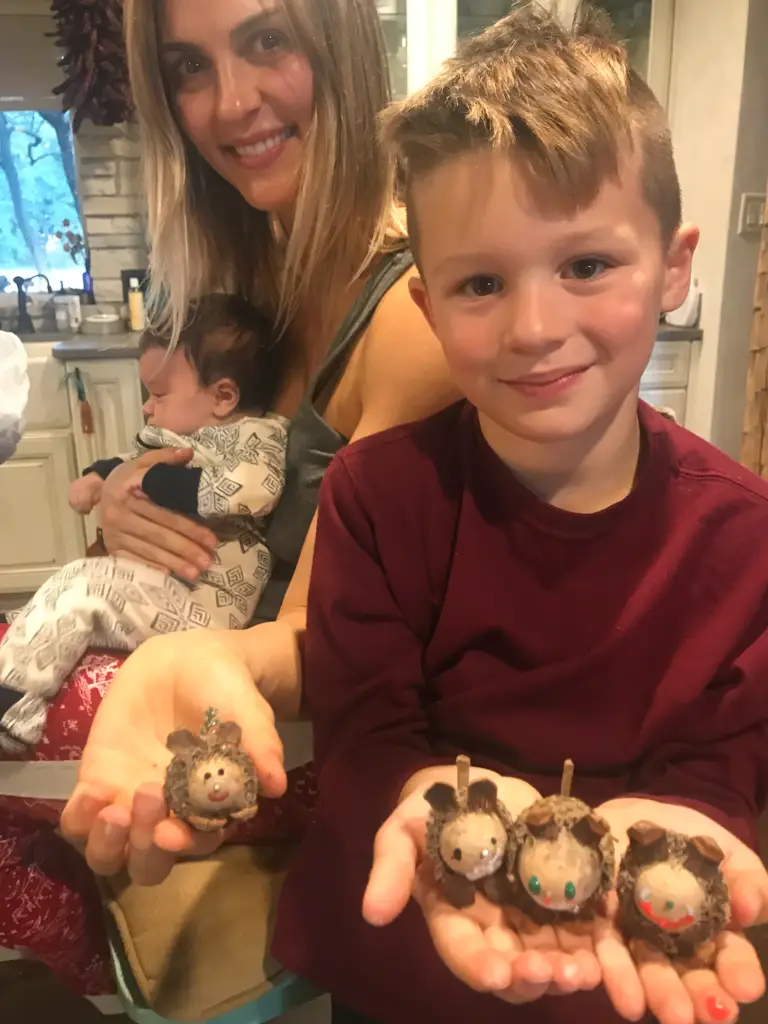
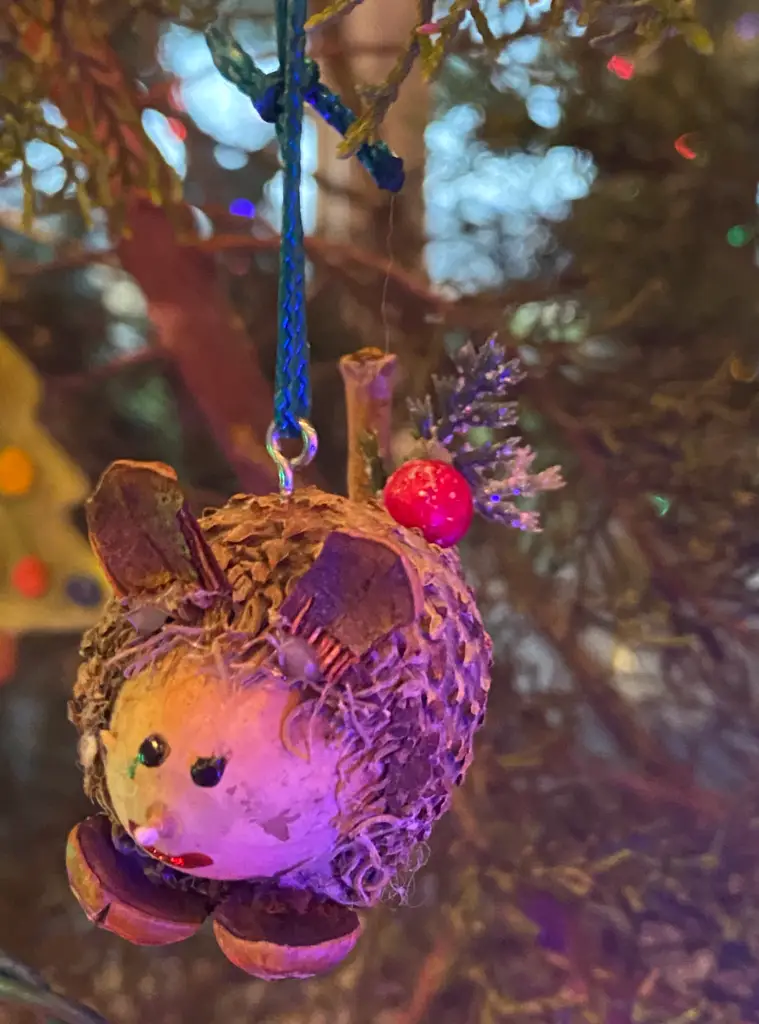
We have beautiful burr oak trees down by the river that produce the biggest acorns I’ve ever seen! Ty & Kase brought back a basketful of these and I noticed many of them had a “nose” & a “tail.” What a perfect item to make a Christmas mouse from. These are so easy to make.
- We pulled four scales off a pinecone and hot glued them to the acorn for the ears and the feet.
- Then we used puff paint to make the eyes and the mouth. You could also use a permanent marker.
- I hot glued some holly berries & greenery on the tail. You can use real greenery and holly berries or artificial.
- Finally you twist a screw eye into the acorn and tie a twine hanger to the eye screw.
Burr Oak Acorn & Pinecone Angels
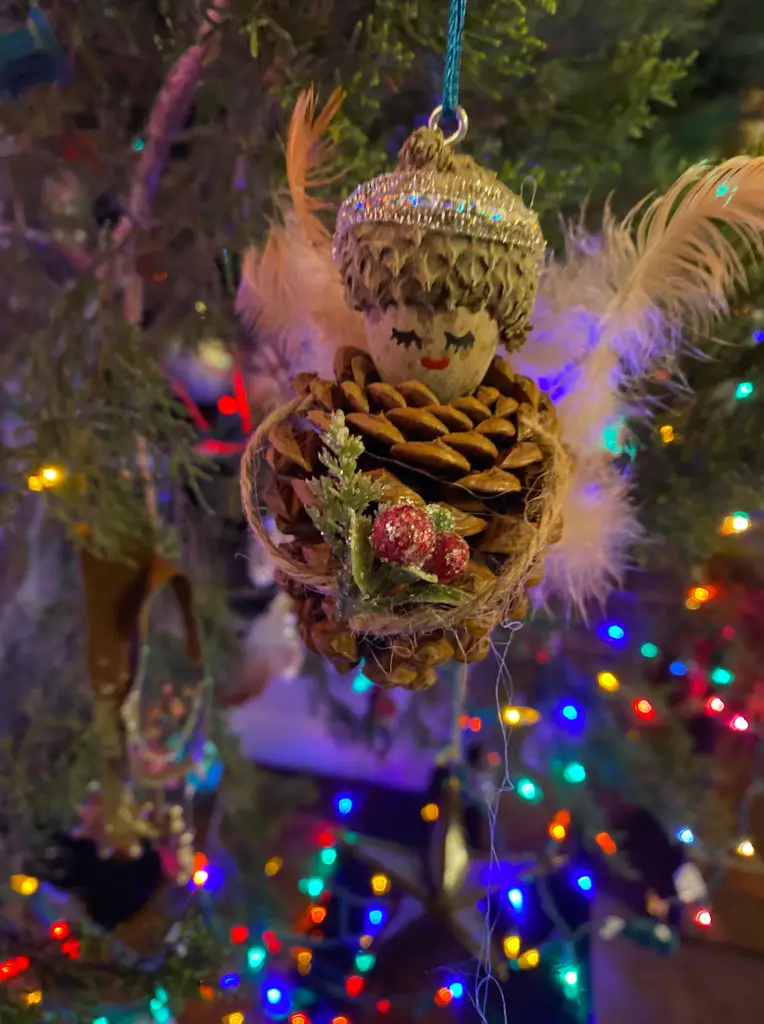
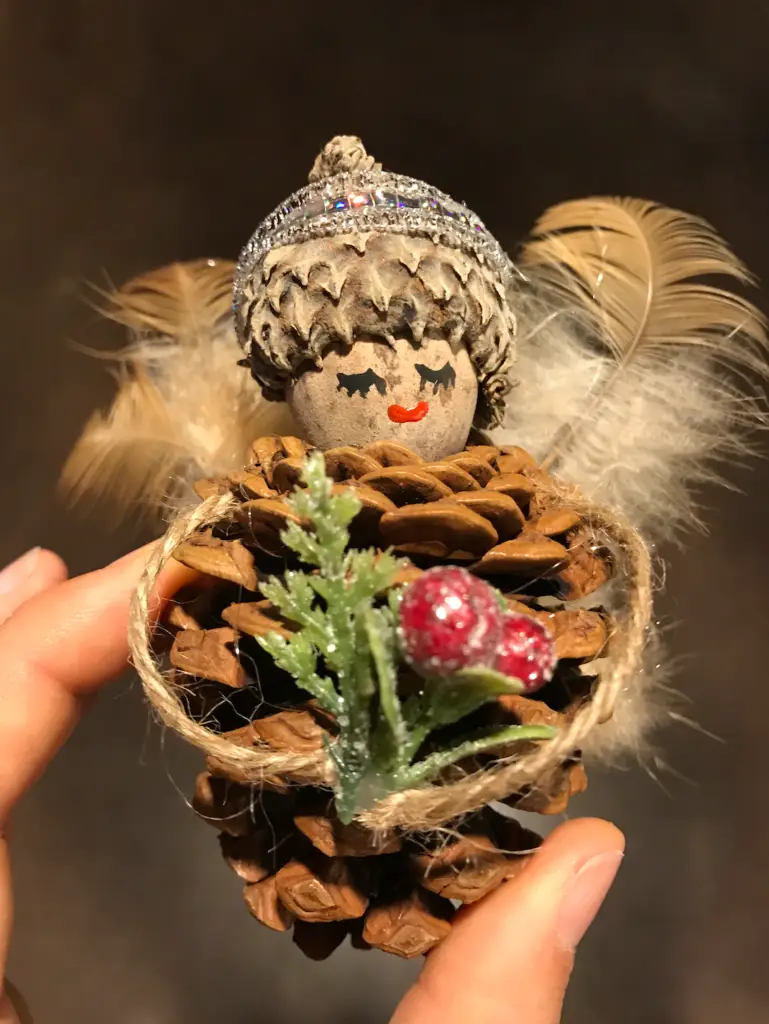
So incredibly beautiful & rustic.
- For these ornaments you hot glue a burr oak acorn or whatever acorn you can find to a pinecone.
- Hot glue on two twine arms.
- Hot glue chicken feathers for wings
- Hot glue some greenery and holly berries to the hands.
- Hot glue a piece of ribbon on for a halo.
- Draw on the face or use paint.
- Twist a screw eye into the acorn for the hanger.
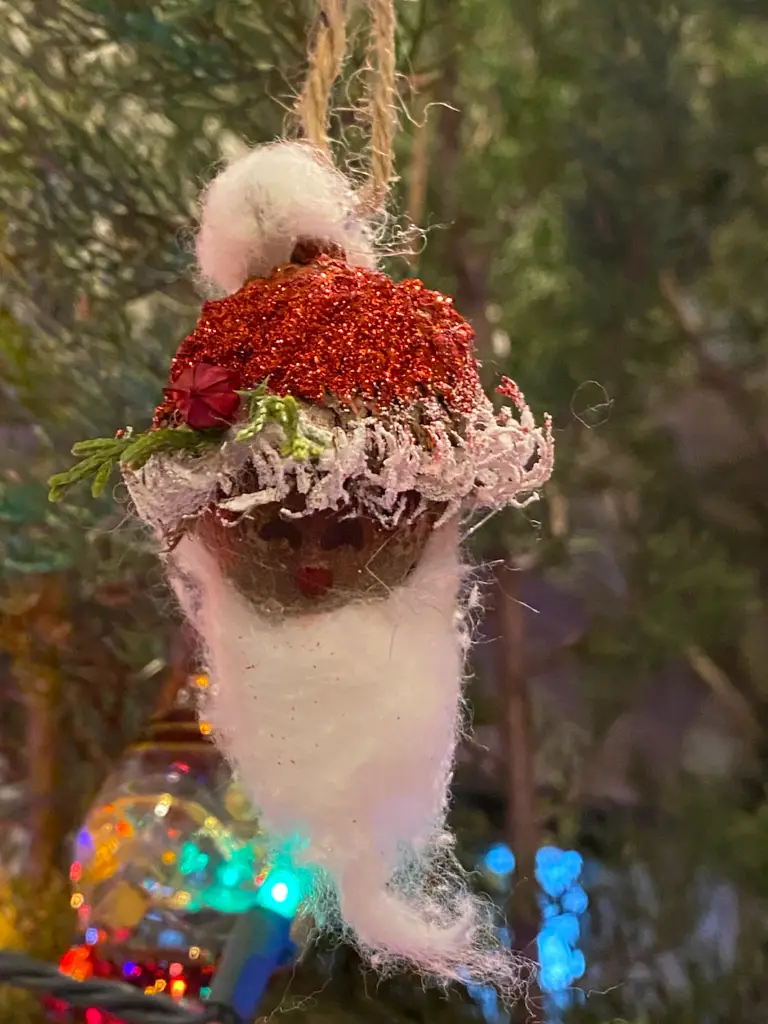
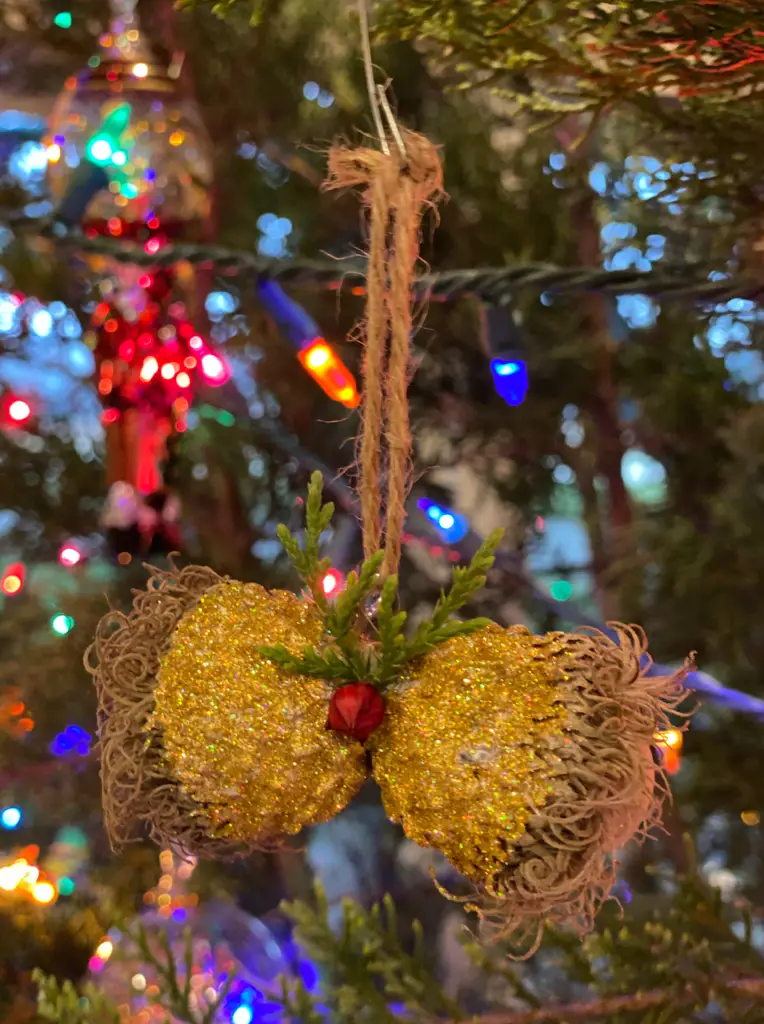
Burr Oak Acorn Santa & Bells
- Paint the top of the acorn red and sprinkle red glitter over the paint. Let dry.
- Paint the edges of the acorn top white and sprinkle with white glitter. Let dry.
- Hot glue part of a cotton ball on for the ball of the hat. Hot glue part of the cotton ball on for the beard.
- Draw the face on with a permanent marker.
- Glue some greenery and a holly berry onto the hat.
- Twist a screw eye into the top of the acorn and hang with twine.
- Paint the top part of the acorn gold. Sprinkle with gold glitter.
- Hot glue on some greenery and a holly berry.
- Twist a screw eye into the top of the acorn and hang with twine.
Burr Oak Acorn Bird’s Nest
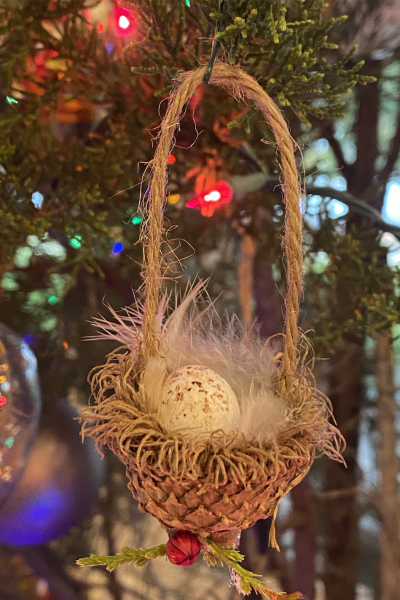
One of my favorites!! So simple yet soooo adorable!
- Use just the top of a burr oak acorn. (I found some Large ones here and some XL ones here).
- Hot glue a piece of twine onto opposite sides on the inside of the acorn.
- Hot glue some feathers inside the acorn top. We used our chicken feathers.
- Hot glue a few tiny bird eggs (you can find blue ones here and yellow ones here).
- Hot glue on some greenery and holly berries on the bottom.
* Cinnamon Applesauce Ornaments*
These are so easy and smell heavenly!!
Ingredients:
- 1 cup of applesauce
- 1 cup plus more of cinnamon
Directions:
- Preheat oven to 200F.
- In a bowl or stand mixer mix together cinnamon and applesauce. Dough should not be sticky but moist and easy to work. Add more cinnamon or applesauce if needed. Chill for an hour or longer for easier to handle dough. You can also freeze the dough if you aren’t ready to use it yet.
- Use about 1/4 of the dough at a time. Sprinkle cinnamon on your parchment paper and roll the dough between two pieces of parchment paper to 1/4 inch thickness.
- Peel off top part of of the paper. Cut dough into desired shapes with a cookie cutter.
- Poke a hole with a drinking straw into the top of the ornament.
- Transfer ornament to a baking sheet.
- Bake for 2.5 hours. Cool on a wire rack.
- Once cool you can use paint to decorate the ornaments and tie a pretty ribbon or twine through the hole for hanging. So cute to add to presents.
